Tips from the Classroom: Dan Riles on Introducing KIBO
Introducing a new technology to the classroom is an exciting opportunity, but it can be daunting. What are the most engaging and most productive ways to introduce new elements — like KIBO — to students? At KinderLab we are big advocates of allowing kids as much freedom to explore and follow their own curiosity as possible. That said, the right guidance can help kids get a lot more out of their first contact with KIBO.
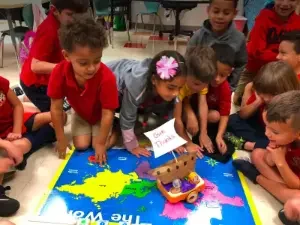
Dan Riles , Technology Integration Specialist and Computer Support Specialist at the Brookwood School in Manchester, MA, introduces KIBO to new classrooms through a participatory and collaborative process which has worked well for his students. He offered to share his process with us.
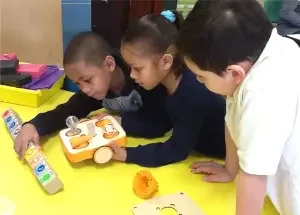
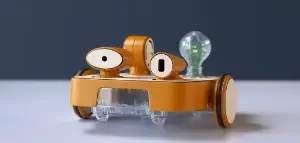
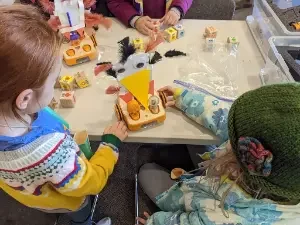
“I love introducing KIBO to young students. The design that includes familiar materials such as wood and blocks makes it feel comfortable to the students while the clear bottom allows them to explore the guts of the robot. I start by passing the KIBO body around a circle of 6 or 7 students asking them to take a quick look at the top, bottom, and sides and to hold their observations until all students have a chance to take a look. Their comments range from concrete descriptions of the materials and shapes to connections between KIBO and other parts of their life. One student recently said that the body looked like a piece of bread!
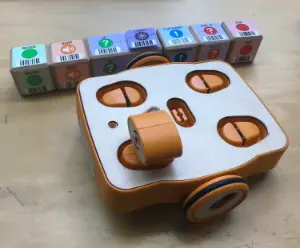
“After the body, I pass out the sensors, wheels, and light. I either put the lid of the bin with all of the pieces on it in the middle of the circle or pass the pieces one at a time in both directions around the circle. Students share their observations about the pieces, and I guide them toward recognizing the shapes and fuctions. Many times, students volunteer this before I have to say anything, and some even connect the shape of the bottom of each piece with the ports on the top of the KIBO body.

“I then pass the lid of the bin with the parts and body on it to the first student in the group. I ask her to start building KIBO. With no further directions, the student is able to figure out how to put a piece on and pass the tray. By the time it gets back to me, all I have to do is tell the students about the green dot on the wheels showing through the base, but that has even been figured out by some groups.
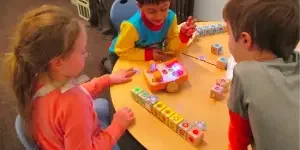
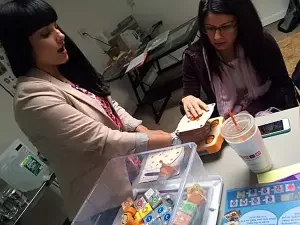
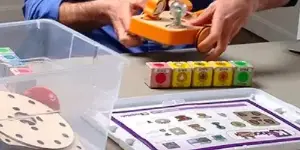
“I then introduce the blocks by looking at KIBO and asking how we tell a robot to do things. Students usually bring up programs or code. I then share the begin and end block held like a traffic light. I then spread out the movement blocks and have the students describe how they are similar and different. We identify the words, symbols, and colors. We have a conversation about bar codes and talk about how KIBO can see the blocks. I then send the lid around the group with enough blocks for each student to add one to the program. After the program is built, I then demonstrate scanning it. Depending on time and patience of the group, I then have each student scan the longer program with the option to rearrange it, or I have them build a three block code with begin, their own choice, and end. The tray precedes the scanning, so that more students are engaged and the scanning takes less time.
“This usually is about a 30-45 minute lesson that introduces the KIBO robot, its pieces, how to build the robot, how to connect code blocks, and how to begin and end each program.”
Thanks for sharing this plan for introducing KIBO to students, Dan!

