


KIBO Robot Activities in Makerspaces
Contributed by: Bryan Flaig, Independent Makerspace Consultant

Educators are always looking for ways to get students problem-solving, collaborating and sharing ideas. Consider making physical computing with robots part of your makerspaces program to engage students in their STEAM learning.
In my work with schools to design makerspaces and STEM programs, I’ve found a few key features that help when introducing robots to young learners. First, the activities should quickly engage students and bring them into the learning process. Second, teachers should consider time and space requirements for robotics activities. And lastly, activities should be aligned to grade-level standards as much as possible. Time with students in the classroom is limited so teachers are always looking to get the most out of formal and informal learning opportunities.
Where to start? The Robot
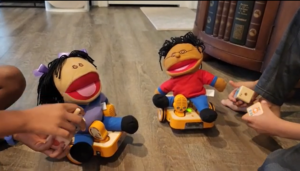
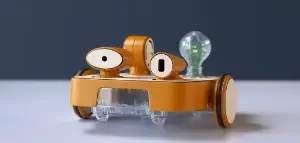
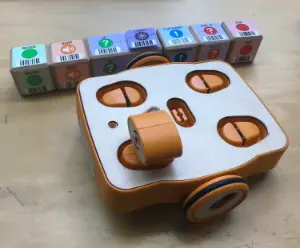
The robots I’ve found most effective for introducing prek-1 students to physical computing in a highly engaging way are KIBOs from Kinderlab Robotics. Students are drawn to the tactile features in KIBO – it has a wooden top and thick plastic sides that make it approachable and easy for young students to grip as they develop fine motor skills. It’s also screen-free! We all know that students have had plenty of screen time over the past two years, and KIBO offers an alternate way for teaching physical computing without screens. Students program KIBO with blocks that are also made of wood, similar to building blocks. And, KIBO is a blank slate. It doesn’t have features that make it easy to fit into a gender, which avoids the biases that can push girls out of STEM. Finally, KIBO doesn’t have what I call a pre-made “personality.” Some robots designed for young learners are already an animal or have features that limit creative imagination. Students are drawn to KIBO and quickly discover that it can be anything they want it to be.
Storytelling Hits All the Key Features
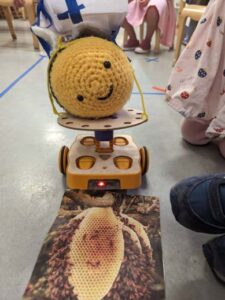
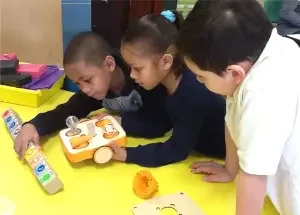
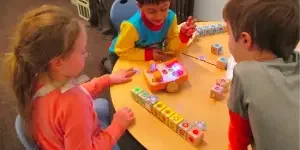
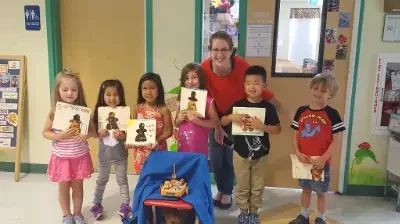
Once students have been introduced to KIBO’s parts and basic programming features, like getting KIBO to move, teachers can increase engagement through storytelling. An introductory activity that I like, which is included in Kinderlab’s curriculum, incorporates the book “Move!,” by Steve Jenkins and Robin Page. In the makerspace, teachers read the story, which involves descriptions of different animals and how they move. Students are asked to draw a picture of an animal, either from the story or one they know about, and tape it to the top of KIBO. Then, students design a program with motion blocks to have KIBO move like their animal. Having students work in pairs can promote productive talk, and teachers will hear students reflecting on parts of the story as they work to sketch and design the movement for their animal. An assessment might involve interviewing students to find out why they made a certain animal, how their computer program works, or how the story influenced their project.
I like this activity for other reasons, too. Depending on school bell schedules, reading and drawing can be done one day, and programming the next. Drawings can be easily stored, which helps with managing the activity. Students can work in defined areas of the makerspace that don’t require a lot of room. The activity relies on simple materials – paper, crayons, and tape. There’s potential to align it with content standards, like reading, talking and writing. And, there’s a high ceiling for creative thinking. I once observed two kindergarten girls imagine KIBO as a polar bear. They built an ice wall with the wooden programming blocks and screamed with delight when they got their program working, and the bear smashed through the ice wall!
Self-directed Learning through Bowling
After students have gained some proficiency with KIBO programming, teachers can set up self-directed learning stations in makerspaces that incorporate different skills. One of my favorites is KIBO bowling, which is also included in Kinderlab’s curriculum materials. To set it up, teachers can cordon off a small area along a wall in the makerspace to define the bowling alley, about 8 feet by 4 feet. I’ve used foam tubing from packing materials to outline the space, and recycled water bottles for pins. With blue tape, teachers can create block lettering to write out “KIBO” on one end and “PINS” on the other. Blue tape arrows can show the direction for the robot to follow. Students will program KIBO to roll down the lane and knock down the pins. Sometimes, they add a “shake” or a “turn” to sweep pins at the edges. Students need very little direction, as knocking down pins is pretty straightforward, and the space is well defined.
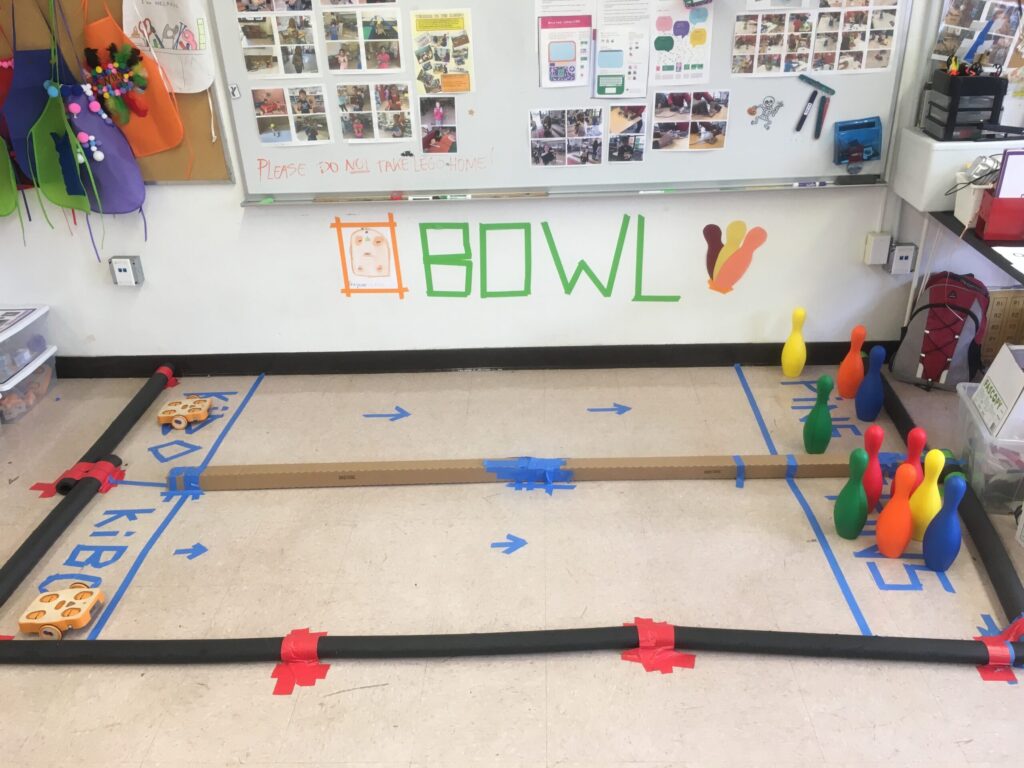
Besides being accessible to different types of learners, KIBO bowling involves Common Core math practices, like trial and error, estimation, prediction and measurement. During formal learning time, teachers might ask students to actually measure how far KIBO travels when they program one “forward” command. Activities can be extended to estimate how far KIBO might travel with multiple commands, depending on math learning objectives.
What’s next? Get creative with content standards alignment
As I’ve discussed, creative expression is a key feature of design challenges involving robotics. Students are quick to imagine different solutions to the challenges that teachers present. But teachers can also be creative in how they use robots in makerspaces to meet content standards.
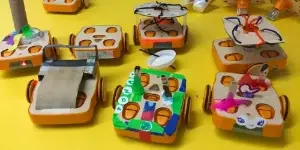
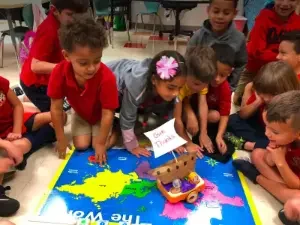
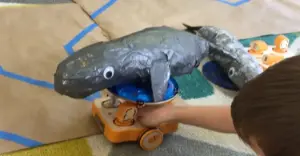
For example, teachers can sometimes align a single robotics activity to multiple standards. I’ve done this with California’s Kindergarten standards in history related to people and places from other times, and NGSS for pushes and pulls. A station for building a covered wagon is set up with preassembled wheels and axles. Students are challenged to attach their wagons to KIBO and program the robot to pull it across the room. In the makerspace, we emphasized use of the phrase “now and long ago,” to have students identify a modern method of transportation with robots and an older method in the covered wagons. We also had students describe the action of KIBO to “pull” the wagon, as opposed to pushing it.

Once they’ve accomplished moving the wagon, students can be challenged to create obstacles, like cardboard ramps, for the wagon to negotiate. To make this manageable in the makerspace, it might be necessary to work outside the classroom, and have students working on different parts of the project at the same time. For instance, one group could be building a ramp, while another is programming their robot to move over it.
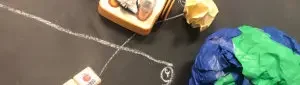
A logical progression would be an activity for “pushing” materials. I’ve done this with KIBO snow plows, where students use cardboard and tape to design a structure that attaches to KIBO and can push objects around or over obstacles. Teachers can add complexity by setting up design constraints, where students can’t use tape to attach their plows, and must use pipe cleaners or other materials.
When working with teachers of young learners on robotics activities, I often hear them say, “I’ve never seen students so engaged!” That’s the wonderful thing about robotics. If you create design challenges with engagement and creative expression in mind, students will dive right in. They will rise to meet expectations in unique and unexpected ways. While at the same time, teachers can meet learning goals for students at any age level.
Bryan Flaig is an educational consultant specializing in makerspaces and STEM curriculum.